
Creating a passport-size photo from a normal photo is required when applying for passports, visas, and official IDs that enforce strict size, background, and facial positioning rules.
This guide explains how to convert a regular photo into a compliant passport-size photo, what causes rejection, and how to meet official requirements using online tools or software.
Definition of Passport Size Photo
A passport-size photo is an official identification photograph that follows fixed dimensions, background color, head size, and facial visibility rules defined by government authorities.
For example, a US passport photo must measure 2 x 2 inches (51 x 51 mm), feature a neutral expression, plain white or off-white background, and clear facial details without shadows or obstructions.
Importance of Passport-Size Photos
Passport-size photos are mandatory for passports, visas, identity cards, and official applications. Non-compliant photos often result in rejection, application delays, or resubmission requests, making accuracy critical.
Why do Passport Photos Get Rejected?
Passport photos are commonly rejected due to incorrect dimensions, uneven lighting, visible shadows, non-neutral expressions, improper background color, head coverings (unless religious), accessories blocking the face, or eyes not facing the camera directly.
Selecting the Right Photo for Passport Size
Before delving into editing, start by choosing the right base photo. Opt for a recent, clear, and high-resolution image where your face is prominently visible. Ensure there are no shadows or obstructions on your face.
Ensuring the Image Meets Official Requirements
Before editing, choose a recent, high-resolution photo with even lighting, a neutral expression, and a plain background. Starting with a compliant base image reduces the risk of distortion or rejection during resizing and cropping.
Passport Photo Editing Process
Cropping: Use photo editing software to crop the image precisely to the required dimensions, maintaining the original aspect ratio.
Background Adjustment: Ensure the background is uniformly white or off-white. Remove any distracting elements or shadows.
Brightness and Contrast: Adjust the brightness and contrast to enhance facial features without overexposing the image.
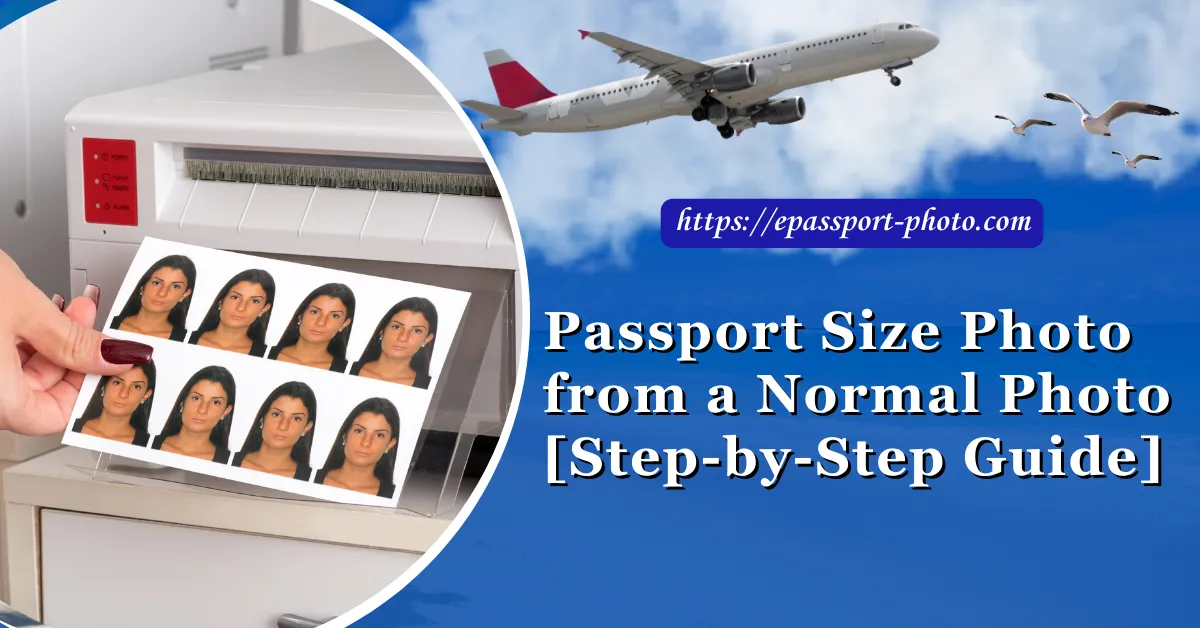
Step-by-Step Process to Make a Passport-Size Photo from a Normal Photo
The fastest way to create a passport-size photo from a normal photo is by using an online passport photo tool that automatically enforces size, background, and alignment rules.
Step 1: Transfer the Photo to Your Computer
Initiate the process by transferring your chosen photo from your device to your computer.
Step 2: Visit the ePassport-Photo Tool Website
Head to the official ePassport-Photo website. This online tool is specifically designed to assist users in formatting their photos according to the stringent requirements for passport-size images.
Step 3: Upload Photo to the Website
On the ePassport-Photo Tool website, locate the option to upload your photo. This typically involves selecting the image file from your computer's storage.
Step 4: Click and Drag the Photo to the Perfect Position
Upon uploading, use the intuitive interface of the website to click and drag your photo into the optimal position. Ensure that your face is centered and aligned correctly within the frame.
Step 5: Use the Zoom Bar to Make Adjustments
Utilize the provided Zoom Bar to make precise adjustments to your photo. This feature allows you to zoom in or out, ensuring your facial features align with the specified guidelines.
Step 6: Remove Background if Required
If necessary, use the tool's features to remove the background. This step may be crucial to meet specific passport photo requirements.
Step 7: Click "Next Button" When Photo-Matches the Required Dimension
Once satisfied with the positioning, adjustments, and background removal, proceed to the next step by clicking the "Next Button." This typically confirms that your photo aligns with the required dimensions.
Step 8: Click the "Download Button" To Save a Single Photo to Your Computer
After confirmation, click the "Download Button" to save the single, formatted photo to your computer. Ensure that the downloaded image maintains the necessary dimensions and adheres to other specifications mandated for passport photos.
By following these steps, you can efficiently transform a normal photo into a compliant passport-size photo using the ePassport-Photo Tool, providing you with a user-friendly and precise solution for your passport photo needs.
Software Tools for Editing Passport Photos
In the digital age, creating passport-size photos has become more accessible and convenient through the use of photo editing software. These tools allow users to edit and format images according to the specific requirements mandated for official documentation.
Here, we introduce some popular software options for crafting precise passport-size photos.
Adobe Photoshop
Adobe Photoshop stands out as a comprehensive and widely utilized photo editing software, known for its advanced features and versatility.
Benefits:
Adobe Photoshop is ideal for users seeking an extensive range of tools and functionalities, suitable for both beginners and advanced photo editors.
Capabilities:
Cropping and Resizing: Easily adjust images to conform to the precise dimensions required for passport-size photos.
Background Manipulation: Modify backgrounds to meet official guidelines, ensuring a uniform and compliant look.
Color Correction: Fine-tune colors for accuracy and representation.
Layering: Employ sophisticated layering for detailed editing while preserving image quality.
GIMP (GNU Image Manipulation Program)
GIMP is a powerful, open-source photo editing software offering robust capabilities for users seeking a free and versatile solution.
Benefits:
GIMP is an excellent choice for cost-conscious users who still require advanced photo editing features, and its open-source nature promotes community collaboration.
Capabilities:
Resizing and Cropping: Easily adjust images to the specified dimensions for passport-size photos.
Background Removal: Effortlessly remove backgrounds for a clean and consistent appearance.
Color and Contrast Adjustments: Enhance image quality through precise color correction and contrast adjustments.
Tips for Taking Passport Photos with a Smartphone
Taking passport photos with a smartphone can be a convenient and efficient process when you leverage the features of your device and ensure compliance with regulations. Here are some tips to help you capture high-quality passport photos with your smartphone:
Utilizing Smartphone Features
Portrait Mode: Many smartphones come equipped with Portrait Mode, which helps create a sharp focus on the subject while blurring the background. This feature can contribute to a professional-looking passport photo.
Gridlines: Activate gridlines on your camera to ensure proper alignment and positioning of your face within the frame.
Timer Function: Use the timer function to avoid any camera shake and capture a steady, clear image.
Avoiding Common Smartphone Photography Mistakes
Avoid Harsh Lighting: Natural light is often the best option. Avoid harsh shadows or direct sunlight, which can impact the clarity of facial features.
Neutral Facial Expression: Ensure a neutral facial expression. Avoid smiling, frowning, or any other exaggerated expressions.
Head Positioning: Position your head straight, facing the camera directly. Avoid tilting or turning your head, as this can lead to non-compliance.
Plain Background: Select a well-lit area with a plain, neutral-colored background. Avoid patterns or distractions to comply with passport photo regulations.
Final Thought
Creating a passport-size photo from a normal photo requires precision, not guesswork. By following official size, background, and facial positioning rules, you can avoid rejection and ensure your photo is accepted on the first submission.
FAQs
1) Can I create a passport-size photo from a normal photo at home?
Yes, you can take your photo for a US passport as long as it meets the size, framing, and print quality requirements. Getting photos from an official passport photo service is recommended for ensured acceptance.
2) What are the dimensions of the US passport-size photo?
A US passport photo must measure 2 x 2 inches (51 x 51 mm) with the head sized between 1 - 1 3/8 inches (25 - 35 mm).
3) Are there specific clothing requirements for the US passport photos?
Yes, clothing should be plain and dark colored with no white, patterns, or logos. Your head and shoulders must face the camera directly, with only your face visible in the photo.
4) Can I smile in my US passport photo?
No, a neutral facial expression with a closed mouth is required. No smiling, frowning, or other expression is allowed.
5) How do I adjust the background of my photo to meet passport standards?
The background should be plain white or off-white, with no distracting shadows or objects around the head and shoulders area. Some adjustments may be needed.
6) Can I use a photo taken with a smartphone for an American passport?
Yes, smartphone photos are acceptable as long as the image meets all the US passport rules for size, framing, resolution, lighting, and background. Some additional editing may be required.