
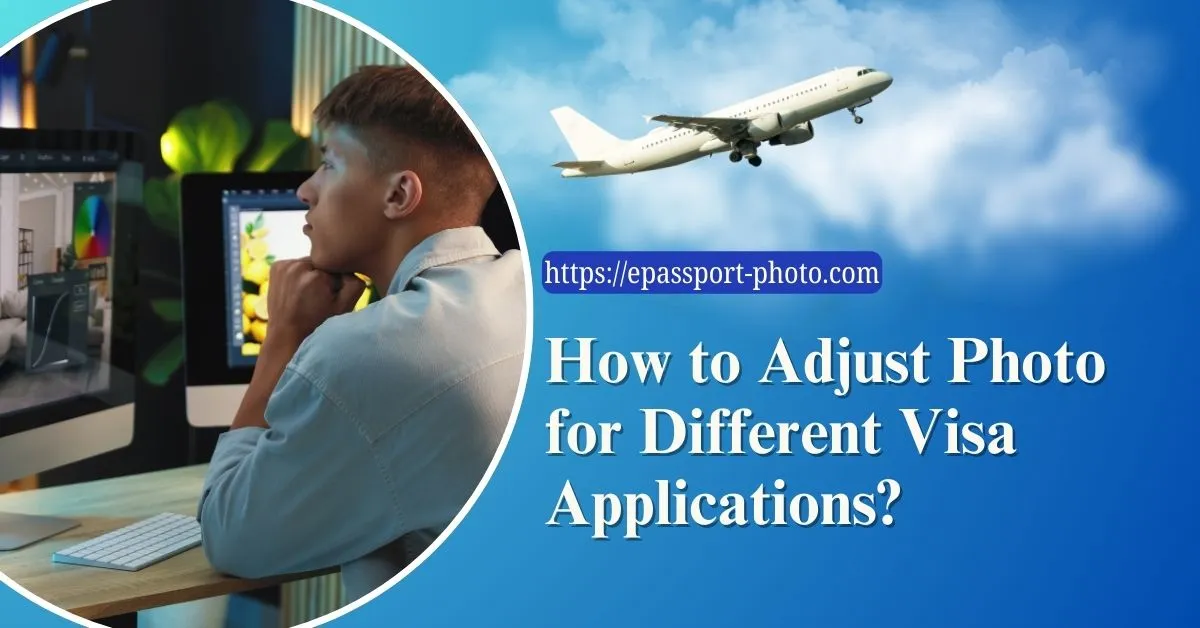
There are exact guidelines for application for a visa, and the most commonly and generally committed mistake is to submit an incorrect photograph. Each country specifies its individual photo dimensions, format, and background.
Submitting a noncompliant photo can delay processing or even lead to outright rejection. However, the good news is that with the help of ePassport-Photo, a mobile application and website, one can easily fine tune their photo to meet all those visa photo requirements.
Step 1: Know the Requirements for Your Destination
Before adjusting your photo, research the specific photo standards for the visa you're applying for. Here are some examples:
U.S. Visa: 2 x 2 inches (51 x 51 mm), white background, JPEG format, head height 1 1 3/8 inches
Schengen Visa: 35 x 45 mm, light gray or white background, head centered
UK Visa: 35 x 45 mm, color photo, no shadows
Canada Visa: 50 x 70 mm, neutral facial expression, plain white background
Pro Tip: Always cross check current photo requirements from the official immigration or embassy website. Requirements can change periodically.
Step 2: Visit the ePassport-Photo Website or Download the App
Access www.ePassport-Photo.com from your desktop browser or download the ePassport-Photo app from Google Play or the App Store.
The platform supports different countries and visa types. Offers automatic photo resizing, background editing, and compliance checks
Example: If you're applying for a Canada visa, simply select "Canada" and the tool will auto adjust your image to 50x70 mm.
Step 3: Select the Visa Type and Country
You'll be prompted to choose the country or visa type. ePassport-Photo has built in templates for each nation's requirements.
You can choose to either:
Upload a photo already stored on your device
Take a new one using your device's camera directly through the ePassport-Photo platform
The tool will then:
Automatically crop and resize the image
Adjust the background color
Align facial proportions with standard guidelines
Example: Selecting "Schengen Visa" prompts the tool to adjust your image to 35x45 mm, with your face occupying 70 80% of the frame.
Step 4: Review and Edit with Built in Compliance Tools
ePassport-Photo uses AI algorithms to detect and correct issues. However, users can manually fine tune the following:
Head tilt and position
Zoom and crop area
Background brightness and color
The platform offers compliance checks that highlight any problems such as:
Face not centered
Incorrect background
Improper lighting or shadows
Pro Tip: Use the "Preview Compliance" feature to visually confirm your image meets all required criteria.
Step 5: Download and Print Your Photo
Once finalized, you can download the photo in multiple formats:
Digital copy (JPEG/PNG) for online visa submissions
Printable sheet with multiple photos arranged for cost effective printing at local shops like CVS or Walmart
You can also send the image to yourself via email or save it to cloud storage for easy access.
Example: For U.S. visa applications, download a high resolution JPEG image to upload directly to the DS-160 form.
Step 6: Final Checklist Before Submission
Before submitting your visa photo:
Confirm pixel dimensions match the embassy requirements
Check file format (JPEG is most common)
Ensure the image was taken within the last 6 months
Verify no filters or digital enhancements were applied
Reminder: A small mistake like the wrong background shade can result in photo rejection. Use the built in ePassport-Photo checklist to avoid such issues.
Save Time and Ensure Compliance with ePassport-Photo
One of the most effective ways of creating visa pictures meeting international standards is, of course, with ePassport-Photo.
Be it a Schengen visa, a U.S. tourist visa, or a Canadian student visa, the platform makes sure that you need not worry anymore about incorrect dimensions or background colors or format errors.
Following this guide and ePassport-Photo's features means having all the guesswork eliminated out of the way for you. You can now confidently concentrate on the rest of your visa process.
Next Steps:
Visit ePassport-Photo to start your photo
Save your digital copy in multiple locations (email, USB, cloud)
Bookmark the tool for future travel needs
FAQs
1. What should I do if my original photo background is not plain or uniform?
ePassport-Photo uses AI to automatically detect and replace busy or colored backgrounds with a plain white one. If the auto removal isn't perfect, you can manually fine tune the background with built in tools.
2. Can I use the same photo for multiple visa applications?
Not always. Different countries have different sizes, resolutions, and background color requirements. Even if the photo is recent, you must reformat it using ePassport-Photo for each country's specifications.
3. What happens if my head size or eye position doesn't match the guideline?
The tool includes facial detection to center the head and adjust proportions. However, if facial dimensions still fall outside of the allowed range, you'll be notified with visual cues to retake or reposition your photo.
4. How recent should my visa photo be?
Most countries require the photo to be taken within the last 6 months. Using an older image, even if it meets all other criteria, may result in rejection.
5. Are there specific rules for photos of infants or young children?
Yes. Many countries relax some rules for infants (e.g., eye contact or mouth closed), but still require: Plain background, Full face visibility, No hands or support items showing. ePassport-Photo has templates for baby and toddler passport/visa photos too.
6. Will my photo be rejected if I wear a headscarf or turban?
Head coverings for religious reasons are allowed by most consulates. Ensure your full face is visible, and the head covering does not cast shadows or block facial features. ePassport-Photo templates account for such cases.
7. Can I take a visa photo with my phone?
Yes. The ePassport-Photo app is designed specifically for mobile use. Just follow the on screen guides for framing, lighting, and posture. It's recommended to use the back camera for better quality.
8. How do I print the photo at a local store without resizing it again?
After generating the image, choose the "Print Layout" option. This arranges multiple visa photos on a standard sized sheet (e.g., 4x6 inches), ready for printing at CVS, Walmart, or similar stores without any manual resizing.
9. Can I adjust my photo if I already submitted an application but it got rejected?
Yes. If your photo was rejected, revisit ePassport-Photo, upload the same image, and use the compliance checker to identify and fix the issue. You'll receive a newly formatted version for resubmission.