
Resizing a photo for a USCIS application is not just about changing dimensions; it's about meeting strict biometric and formatting standards. Many applications are delayed or rejected because the photo does not comply with exact USCIS specifications.
This guide explains how to correctly resize your photo for USCIS applications using free tools, while also ensuring it meets technical requirements used in identity verification systems.
USCIS Photo Requirements (Technical Breakdown)
Before resizing, you need to understand what USCIS actually requires.
Core Specifications
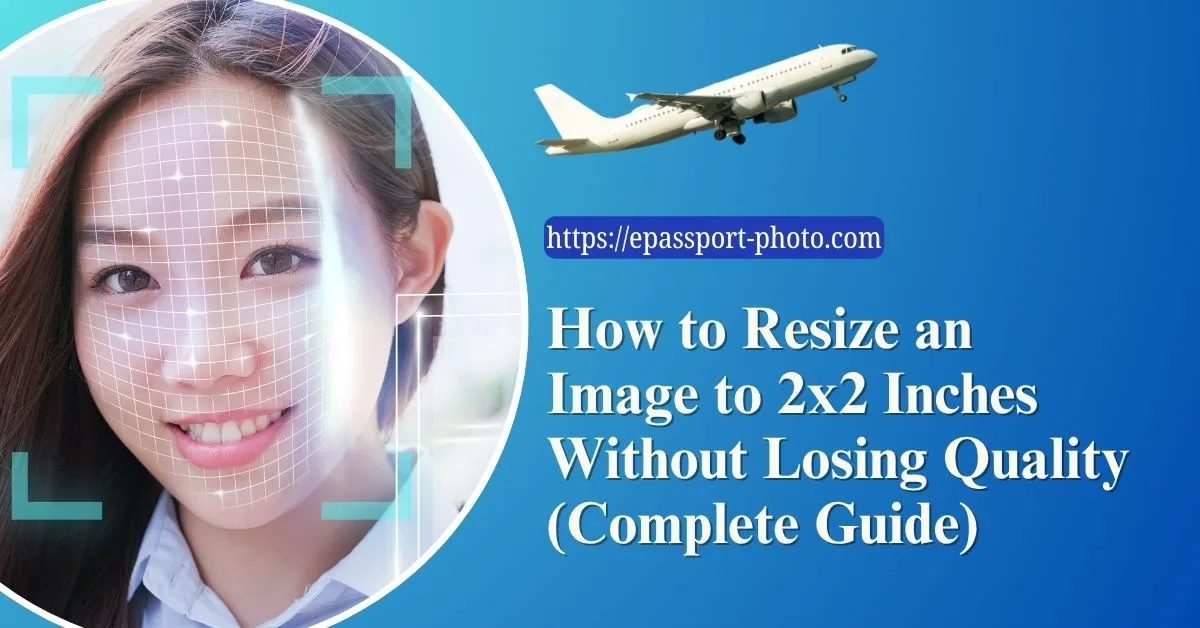
Size: 2 x 2 inches (51 x 51 mm)
Resolution: Minimum 300 DPI (600 x 600 pixels recommended)
Head size: 1 inch to 1 3/8 inches (25 mm to 35 mm)
Background: Plain white or off-white
File format: JPEG (for online submissions)
Color: Full color (no filters)
Biometric Compliance Factors
Neutral facial expression
Eyes open and visible
No shadows or overexposure
No digital alterations
These requirements are used by automated systems to validate identity consistency across immigration databases.
Why Resizing Photos for USCIS Often Fails
Most users resize images incorrectly due to these technical issues:
Incorrect Aspect Ratio: Simply resizing to 2x2 without maintaining proportions distorts the face.
Improper Cropping: Head size falls outside the required range, leading to rejection.
Low Resolution Scaling: Upscaling a small image reduces clarity and fails biometric checks.
Background Detection Errors: Non-uniform backgrounds get flagged during automated processing.
Compression Artifacts: Excessive JPEG compression reduces facial detail accuracy.
How to Resize Photos for USCIS Applications for Free (Step-by-Step)
Step 1: Upload Your Photo
Go to a dedicated tool like: https://epassport-photo.com
Upload a high-quality, front-facing image.
Step 2: Select USCIS Format
Choose: US Visa / USCIS Photo (2x2 inches)
The system automatically applies:
Correct dimensions
Face positioning
Background normalization
Step 3: Auto-Crop & Align
The tool uses facial detection to:
Center the head
Adjust spacing
Maintain correct head-to-frame ratio
Step 4: Download the Resized Image
Export the image in:
JPEG format
Proper resolution (300+ DPI)
USCIS-compliant layout
Manual Resizing vs Automated Tools (Technical Comparison)
Factor | Manual Editing | Automated Tool |
|---|---|---|
Accuracy | Low | High |
Biometric Compliance | Not guaranteed | Optimized |
Time Required | High | Minimal |
Error Rate | High | Low |
Manual tools like Photoshop or mobile apps require precise measurement knowledge, which most users don't have.
Advanced Tips to Ensure USCIS Approval
Use Proper Lighting: Avoid shadows behind the head and uneven exposure.
Avoid Digital Filters: Even slight enhancements can trigger rejection.
Maintain Natural Skin Tone: Do not adjust brightness excessively.
Check Eye Alignment: Eyes should be approximately 1.1 to 1.4 inches from the bottom.
Common Reasons USCIS Rejects Photos
Head size too small or too large
Background not plain white
Blurry or pixelated image
Incorrect dimensions (not exactly 2x2)
Glasses causing glare
Shadows on face or background
Why Free Online Tools Are Now Preferred
Modern tools are built with:
AI-based face detection
Automatic compliance checks
Real-time validation against USCIS standards
This significantly reduces rejection rates compared to manual editing.
When You Should NOT Resize a Photo
Do not resize if:
The original image is low resolution
Face is partially obscured
Lighting is poor
Background is cluttered
In such cases, retaking the photo is more effective than editing.
Conclusion
Resizing photos for USCIS applications is a technical process, not a basic editing task. Precision in dimensions, facial alignment, and image quality determines whether your application moves forward or gets delayed.
Using a free automated tool ensures compliance with USCIS standards while eliminating manual errors. For most applicants, this is the fastest and safest way to prepare a valid photo.
Download EPassport-Photo | Android | IOS |
Frequently Asked Questions (FAQs)
Can I resize a USCIS photo using my phone?
Yes, but only if the tool ensures correct dimensions and biometric alignment. Basic gallery editing apps are not sufficient.
Is 600x600 pixels mandatory for USCIS?
It is recommended for digital submissions, but the key requirement is maintaining a 2x2 inch ratio with proper DPI.
Can I crop a regular photo into a USCIS photo?
Yes, if the face positioning and background meet USCIS requirements. Otherwise, it may be rejected.
Does USCIS allow edited photos?
Only basic adjustments like cropping and resizing are allowed. Retouching or altering facial features is not permitted.
What is the most common mistake in USCIS photos?
Incorrect head size relative to the frame.