Have you ever wondered if you could save time and money by taking your passport photo at home? Do you find it inconvenient and costly to visit a professional photographer?
With modern technology, you can easily create a perfect passport photo yourself. In this blog, we will explore the importance of passport photos and how you can achieve professional results with DIY editing.
Passport Photo Editing At Home
Creating a DIY passport photo is all about meeting official standards by following specific requirements. These include size and dimensions, background and lighting, head position and facial expression, and clothing and accessories.
Hereâs a detailed breakdown to help you achieve a compliant and professional-looking passport photo at home.
Size and Dimensions
Each country has its standards for passport photo dimensions, which you need to get right. Standard Passport Photo Dimensions for Various Countries:
United States: 2 x 2 inches (51 x 51 mm)
United Kingdom: 35 x 45 mm
Canada: 50 x 70 mm
Australia: 35 x 45 mm
European Union (general): 35 x 45 mm
Common Mistakes in Sizing
Incorrect Dimensions: Using the wrong size for the specific country.
Improper Cropping: Cropping too close to or too far from the face, can lead to rejection.
You can explore our interesting blog to tackle common mistakes while taking passport photos: 12 Common Mistakes that Disqualify Your Passport Photo.
How to Avoid the Mistake during DIY Passport Photo Editing?
Check the specific dimensions required for your country before starting. You can check out our website ePassport-photo, for correct passport photo sizing and cropping. Our tool automatically adjusts the dimensions according to the country-specific requirements.
Background and Lighting
A plain, light-colored background is essential for your passport photo to be clear and meet standards. A white or light gray background provides the best contrast with your face making all your facial features visible.
A few tips for achieving proper lighting for your DIY passport photo:
Use Natural Light: Stand facing a window with indirect sunlight. This helps avoid shadows and provides even lighting.
Use Artificial Light: Set up two light sources at 45-degree angles from each side of your face. This setup minimizes shadows and evenly lights your face.
Avoid Direct Sunlight: Direct sunlight can cause harsh shadows and uneven lighting.
Head Position and Facial Expression
Your head position and facial expression play a crucial role in DIY passport photo compliance.
Ways to position your head correctly:
Place your head within the frame to make your face visible from the top of your hair to the bottom of your chin.
Keep your head straight and do not tilt to either side.
Look directly at the camera with a straight gaze.
Facial Expressions and Eyewear
Neutral Expression: Keep your eyes open, and mouth closed, and avoid smiling. A neutral expression is a must.
Eyewear: Remove glasses to avoid glare and reflections, unless they are medically necessary. Even then, ensure your eyes are visible and there are no reflections from the lenses.
Clothing and Accessories
What you wear in your passport photo can impact its acceptability, therefore:
Choose everyday clothing that contrasts well with the background. Solid colors work best.
Avoid wearing white or light-colored clothing that might blend with the background.
What to avoid regarding clothing and accessories?
Uniforms: Most countries prohibit wearing uniforms or camouflage.
Hats and Head Coverings: Remove hats or head coverings unless they are worn for religious reasons. Even then, ensure your face is fully visible while taking a DIY passport photo.
Large Accessories: Avoid large earrings, necklaces, or other accessories that could hide your face.
Tools and Software for DIY Passport Photo Editing
ePassport-photo: Online DIY Passport Photo Editing
Aren't you looking for a hassle-free way to edit your passport photos? Look no further than our online DIY passport photo editing tool: ePassportphoto. This user-friendly tool simplifies the process of creating passport photos from the comfort of your own home.
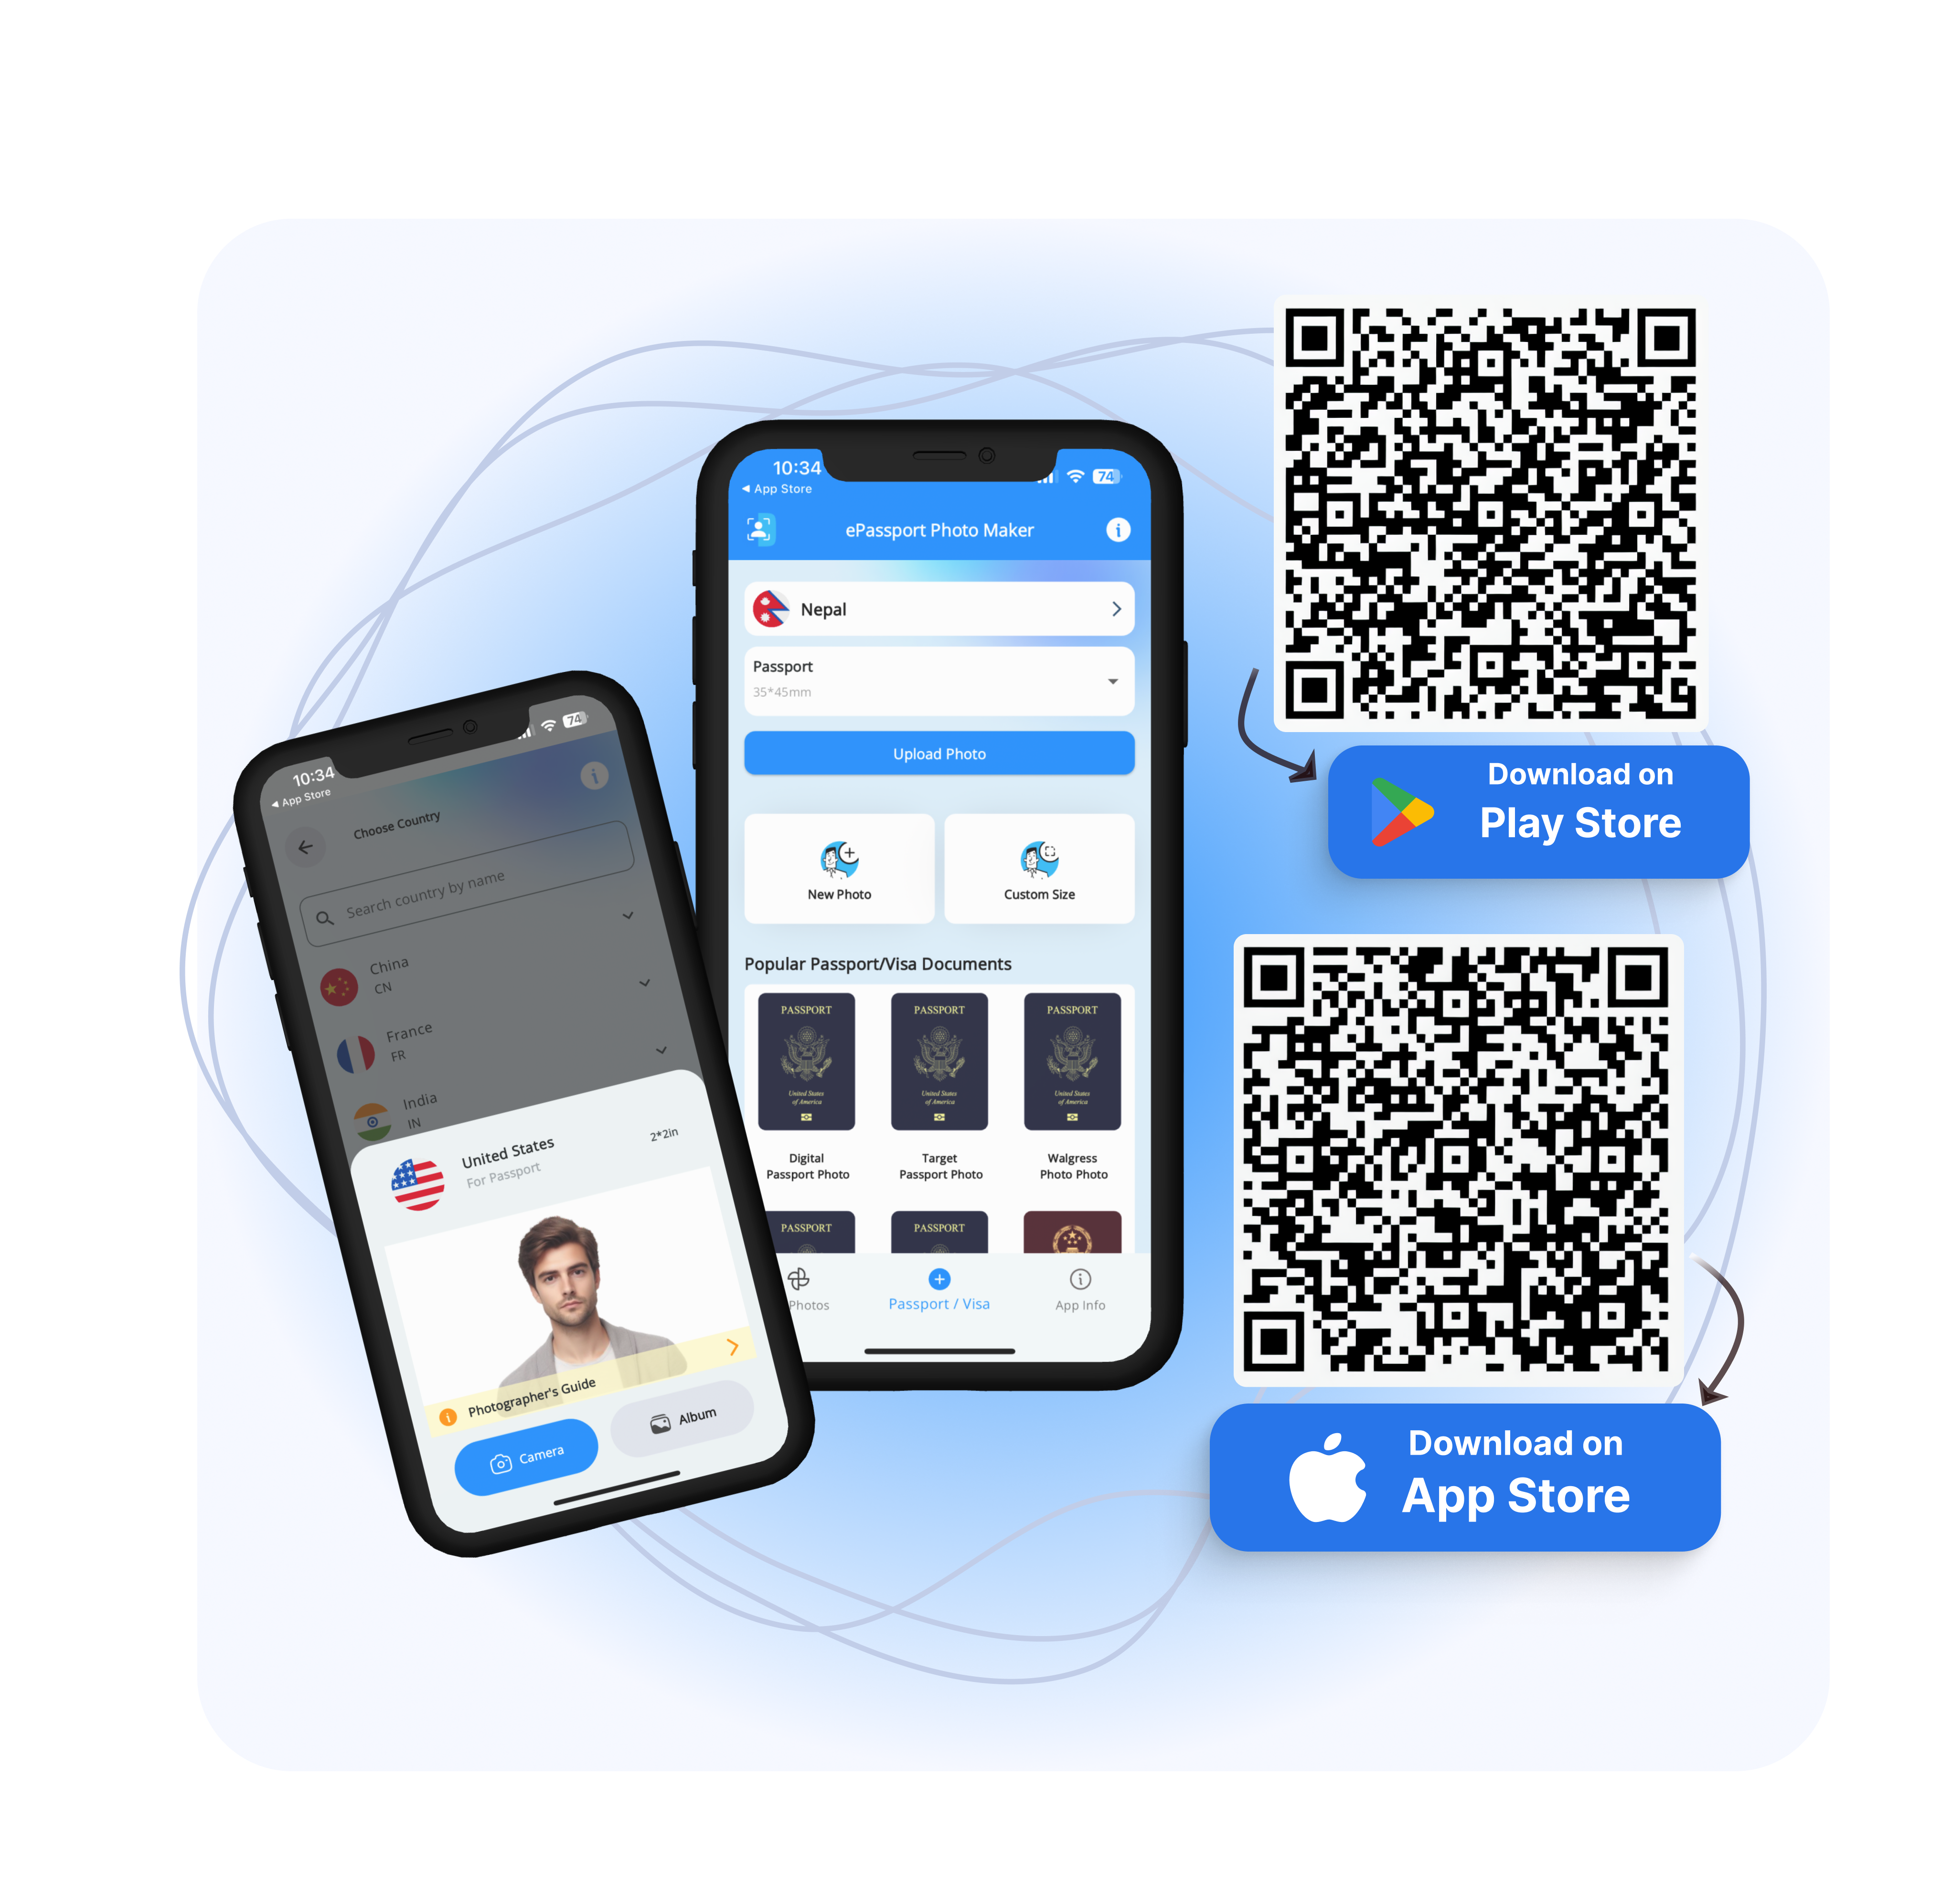
With the ePassport-photo mobile apps available for iOS and Android, you can edit your passport photos anytime, anywhere.
Step-by-step Guide to Get ePassport-photo Mobile App
Download the App: Install the ePassport Photo Maker - Visa app from the App Store or Google Play Store.
Select Your Country: Choose your country from the list provided in the app.
Take a Photo: Use the app's built-in camera to capture your passport photo or upload an existing photo.
Wait for Processing: The app will automatically process your photo to meet your country's specific requirements for passport photos.
Additional Features: In addition to passport photos, the app also allows you to create visa photos with ease.
Professional Software
For those who prefer more advanced editing options, software like Photoshop and GIMP offers powerful tools for passport photo editing.
Photoshop: Adobe Photoshop is a versatile photo editing software widely used by professionals. It offers a wide range of tools and features for precise editing and customization.
GIMP: GIMP (GNU Image Manipulation Program) is a free and open-source alternative to Photoshop. It provides similar functionality and is suitable for both beginners and experienced users.
Tutorial for Beginners to Create Perfect Passport Photo
Preparing For the Passport Photo
Taking the perfect passport photo is the first step towards a flawless result. Follow these steps for an optimal-quality passport photo:
Utilize Natural Light: Take a photo in a well-lit area with natural light to avoid harsh shadows.
Choose the Right Background: Choose a plain, light-colored background to meet passport requirements and make sure your photo stands out.
Cropping and Resizing
Achieving the correct dimensions for your passport photo is crucial in terms of following passport requirements. Here are some ways to resize your photo accurately:
Follow Passport Guidelines: Use our online tool or mobile app to crop and resize your photo to meet specific passport requirements.
Ensure Precision: Follow the built-in guides and features to achieve exact cropping, avoiding common errors and ensuring compliance.
Proper Brightness and Contrast
To meet passport standards, it is essential to optimize brightness and contrast. Here is how to achieve the perfect brightness:
Use Passport Photo Editing Tools: Our online tool and mobile app offer advanced features for adjusting brightness and contrast to meet passport standards.
Customize Your Settings: Whether you prefer manual adjustments or auto-correction, our tools provide flexibility to cater to your preferences.
Removing Backgrounds
A clean background is a must for a professional-looking passport photo. Hereâs how to achieve seamless background removal for your DIY passport photo:
Step-by-Step Guidance: Follow our intuitive guide to effortlessly remove or adjust backgrounds, ensuring a clean and compliant result.
Access Recommended Tools: Our online tool and mobile app offer recommended tools and software for background removal, simplifying the process for you.
Final Touches and Quality Check
Before finalizing your passport photo, perform a thorough quality check to ensure perfection:
Enhance Image Clarity: Take advantage of our tools to sharpen the image and enhance clarity, ensuring a professional finish.
Quality Assurance: Follow these tips for a final quality check to identify and rectify common errors, guaranteeing a flawless result.
Common Mistakes to Avoid While Taking Passport Photos
Incorrect Dimensions and Cropping
Ensuring the Photo Meets Specific Country Requirements:
Follow Guidelines: Each country has specific requirements for passport photo dimensions. Adhere strictly to these guidelines.
Use Online Tools: Use ePassport-photo to automatically crop and resize your photo to meet the exact requirements.
Poor Lighting and Shadows
Tips to avoid shadows and achieve even lighting:
Optimize Lighting: Ensure your face is evenly lit. Avoid using a single light source that casts shadows.
Use Natural Light: Position yourself near a window with diffused natural light to reduce harsh shadows and provide even illumination.
Set Up Artificial Light: Place two light sources at 45-degree angles on either side of your face to minimize shadows.
Background Issues
A few ways to ensure a clean and appropriate background:
Choose a Plain Background: Use a white or light-colored background. Avoid patterns, textures, or clutter.
Ensure Even Lighting: Make sure the background is uniformly lit to avoid shadows or dark spots.
Remove Distractions: Ensure there are no objects or decorations visible behind you.
By avoiding these common mistakes, you can ensure your DIY passport photo editing meets all necessary standards and avoids rejections. For more detailed guidance and easy-to-use tools, visit the ePassport-photo website.
Printing Your Edited Passport Photo
After editing your passport photo to perfection, the final step is printing it correctly. Here are some key considerations to ensure your photo meets official standards and looks professional.
The best practices for printing DIY passport photos are:
Follow Size Requirements: Make sure to print your photo in the correct dimensions specified by your country. For example, the US requires 2 x 2 inches, while the UK requires 35 x 45 mm.
Use High-Quality Paper: Choose glossy or matte photo paper for the best results. The glossy paper provides vibrant colors, while matte paper reduces glare.
Check Photo Resolution: Print your photo at a resolution of at least 300 dpi to maintain clarity and detail.
Home Printing Tips
Tips for achieving high-quality prints at home:
Use a Good Printer: Please use a high-quality photo printer to print out our DIY passport photo. Inkjet printers are generally better for photo printing than laser printers.
Select the Right Paper: Use photo paper recommended by your printerâs manufacturer to ensure compatibility and quality.
Print at the Correct Size: Use your printer settings to ensure the photo prints at the exact dimensions required.
Check Print Settings: Set your printer to the highest quality print mode. Make sure to disable any auto-correction features that might alter the colors or contrast.
Cut Carefully: Use a paper cutter or sharp scissors to cut your photo to the exact dimensions for straight edges and accurate sizing.
Final Thoughts
DIY passport photo editing offers significant benefits, including cost savings and convenience. By following the steps outlined in this guide, you can achieve professional-quality results from the comfort of your home.
We encourage you to try editing your passport photos yourself, using modern technology and easy-to-use tools. For additional resources and tools to assist you in this process, visit the ePassport-Photo web.
Our platform provides support to meet all requirements for your passport photos. Start your DIY passport photo journey today and enjoy the satisfaction of creating perfect passport photos on your own.
FAQs
What are the basic requirements for a passport photo?
Passport photo requirements vary by country but generally include specific dimensions, a plain background, correct lighting, and a neutral facial expression.
Can I use my smartphone to take a passport photo?
Yes, you can use your smartphone to take a passport photo. Make sure to follow guidelines for lighting, background, and head positioning to meet official standards.
How do I ensure my passport photo meets the correct dimensions?
Use online tools or mobile apps like those available at ePassport-Photo.com to automatically crop and resize your photo to the correct dimensions for your country.
What are the common mistakes to avoid when editing a passport photo?
Avoid over-editing, incorrect dimensions, poor lighting, and improper backgrounds. Ensuring your photo looks natural and meets all guidelines is very important.
Is it better to print passport photos at home or use a professional service?
Printing at home offers convenience, but professional services ensure high-quality prints and meet all the passport standards.
What type of paper should I use to print passport photos at home?
Use high-quality photo paper, either glossy or matte. Make sure your printer settings are adjusted for the best quality print.

