
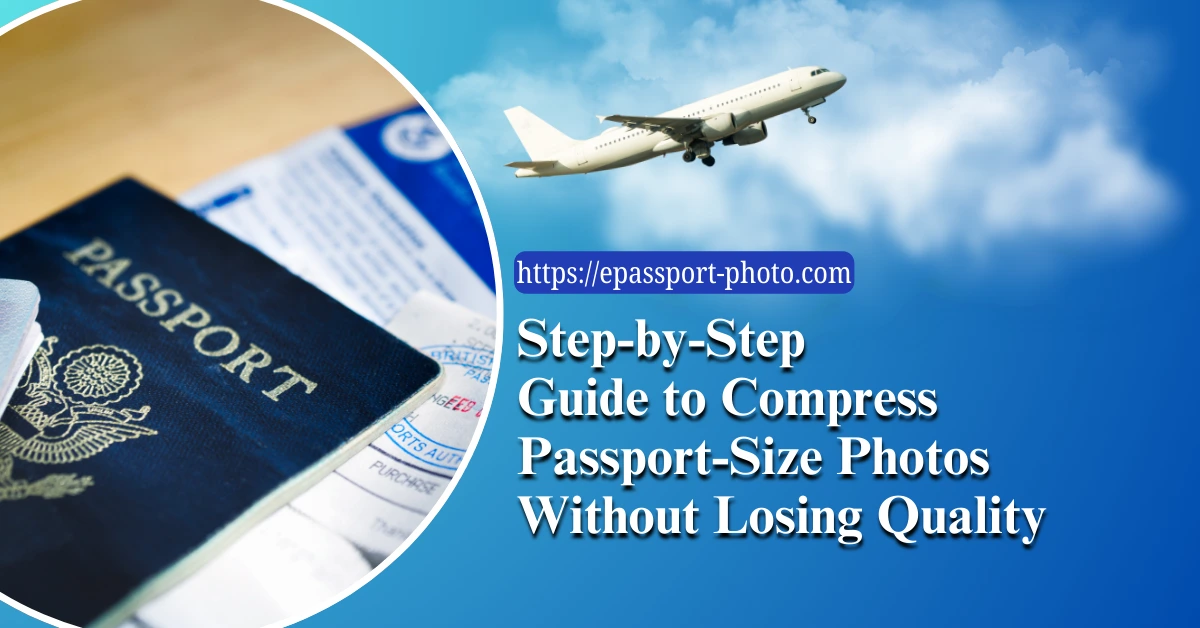
Compressing passport-size photos is often required to meet strict file size limits set by passport offices, visa portals, and government application systems. These systems usually demand a specific KB range, correct dimensions, and clear facial details, while rejecting images that appear blurred or over-compressed.
This guide explains how to compress passport-size photos to the required file size without losing clarity, which settings actually matter, and how to verify that your photo still meets official passport requirements after compression.
7 Steps to Compress Passport-Size Photos
Step 1: Select the Correct Tool
The first step to compressing passport-size photos is to select the proper photo-compressing tool or software. Use a tool designed specifically for passport photos, such as EPassport-Photo, because it preserves facial details, background consistency, and required dimensions while reducing file size.
Step 2: Import the Passport-Size Photos
The next step is to choose and import the passport-size photo that you want to compress. You can import the photo by using the 'Select Image' function in the tools. Always keep the original image file, as compression permanently removes image data and cannot be reversed.
Step 3: Determine the Compression Setting
The next step is to review and determine the proper compression settings after importing the passport-size photos. Set compression based on the required file size (for example, under 200 KB) rather than vague quality labels. Gradually reduce the quality in small increments and stop as soon as the image meets the size limit while facial features remain sharp.
Step 4: Compress the Photo
Once the compression settings are adjusted, the next step is to compress the passport-size photo. You can simply select the 'Compress Now' button on the web-based tool. The application will then compress the photo, and you will get compressed versions of the images with smaller file sizes as outputs.
Step 5: Compare with Originals
After the passport-size photo is compressed, you should view and compare the compressed passport-size photo with the original photo. You should do it to ensure that the quality of the image remains intact and there are no distortions during the photo compression. If there are any changes you want, you can simply repeat the process. Pay close attention to facial edges, eye clarity, and background uniformity, as these are the first elements affected by over-compression and the most common reasons for rejection.
Step 6: Save the Photo
Once you are content with the compressed photo, the next step is to save the photo on your computer or device. You can choose an appropriate file format depending on the intended use of photos. JPEG (JPG) is generally preferred for passport photos because it offers efficient compression while maintaining acceptable image quality. You should also remember to give appropriate names to the files so that you can recognize them later.
Step 7: Check the image
The last step to compress a passport-size photo is to check the compressed photo on various applications or platforms to ensure that they are loaded quickly and displayed correctly. Upload the compressed photo to the actual passport or visa application portal to confirm it passes file size and format validation. If you are not okay with the image, you can simply repeat the compression process with a different compression setting.
Importance of Maintaining Passport Photo Quality
You might have noticed that when you send photos to someone or upload them to the web or social media, the picture quality decreases. This is due to compression.
When we compress passport-size photos to save file space, we end up losing a bit of original quality. We should maintain details like the sharpness and clarity of your photo when compressing it so that you can represent yourself correctly in your passport image.
Firstly, you never know when you might need to use your passport for official reasons, be it for filling out personal information, foreign travel, or a job interview. A fuzzy and faded passport photo can cause major issues and delays.
You already know that the passport photo requirement is quite strict, and you need to fulfill the requirements for your passport photo to be accepted. A good-quality and clear photo will save you from headaches down the line.
Passport authorities use automated and manual verification systems to evaluate photo clarity, facial visibility, and background consistency. Over-compressed images may pass upload checks but fail visual inspection, leading to application delays or rejection.
Tips for Preserving Image Quality During Compression
Use JPEG format for photographs, as it balances file size and clarity.
Reduce quality gradually instead of applying extreme compression.
Maintain sufficient resolution so facial details remain clear after resizing.
Avoid repeated compression cycles, as quality degrades with each pass.
Prefer tools that offer lossless or controlled compression options for official documents.
Best Practices for Managing Compressed Photos
Organizing the compressed photo is a key step in managing compressed photos. You should always keep the original photo to preserve all the original image data.
Compressed photos save space and make them load faster online, but it is always safe to keep the high-resolution version of the image. It is a smart decision to have a copy of the original photo stored safely so that you can use it for printing or editing.
You should make a habit of organizing and naming your files. If you do so, it will be easier and quicker to find the images that you are looking for. Organize passport photos by document type and submission date to avoid using outdated or non-compliant images.
Always remember to back up your photos, whether original or compressed. You can simply use cloud storage, such as Google Drive or Dropbox. This way, you can view your photos anywhere.
It is a good idea to check the resolution of the images and the file size ratio to view them properly on different devices. You will be able to arrange and manage your compressed passport-size photo without any inconvenience by following these best practices.
Final Thoughts
Compressing a passport photo should never compromise clarity or compliance with official requirements. Just use the correct technology to compress passport-size photos.
You need a passport photo for approval of your passport, visa, and plane ticket. You may need it for filling out forms on personal details and even employment opportunities.
Just don't forget to find the balance between image quality and file size, making your passport photo submission process smoother and your work less exhausting.
If you want to avoid manual trial and error, a dedicated passport photo service can automatically adjust size, format, and compression to meet official requirements.
Visit EPassport-Photo to Compress Image
Download EPassport-Photo | Android | IOS |
FAQs
What is the best way to compress images?
The best way to compress images is to use online tools like E-Passport Photo Compressor or use software like Photoshop.
Does compressing images affect the quality?
Lossless compression doesn't affect the image quality, whereas lossy compression affects the image quality.
Is it safe to compress photos online?
Yes, it is safe to compress photos online. It is better if you choose a trusted website that values privacy concerns.
What is the best format to compress photos?
JPEG is best for photographs, PNG is best for graphics, and WEBP is best for website use. It depends upon your reasoning to compress photos.
How does image compression work?
Image compression works by reducing the image data needed to represent the image.
Which image format is best for passport photo compression?
JPEG, WEBP, PNG, and HEIF/HEIC are some of the best image encoders based on your image compression reasoning.
Do cameras compress images?
Yes, cameras compress images as most of them save images in JPEG format, which is a lossy method. There are high-end cameras that store images RAW with greater image data.