
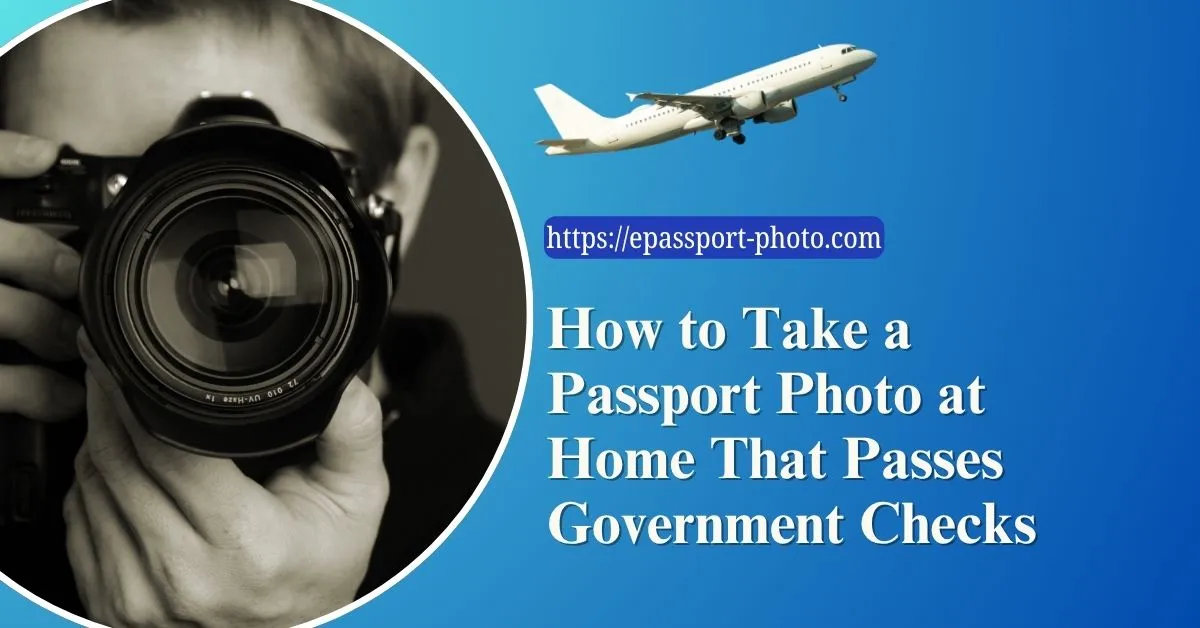
Taking a passport photo at home has become increasingly common, especially as more applications move online. However, while the process may seem straightforward, meeting official requirements is more complex than simply taking a clear picture.
Government agencies do not evaluate passport photos based on appearance alone. They rely on strict technical and biometric standards to ensure that each image can be used reliably for identity verification.
A photo that looks acceptable to the human eye may still fail these checks if it does not meet specific criteria. This guide explains how to take a passport photo at home that aligns with real-world requirements, minimizing the risk of rejection.
Why Most At-Home Passport Photos Get Rejected
The majority of at-home passport photos fail not because of poor cameras, but because of incorrect setup and alignment.
Common issues include uneven lighting, shadows on the background, incorrect head positioning, and improper framing. Many users also underestimate the importance of background uniformity and facial proportions.
Another frequent problem is over-editing. Adjustments such as filters, brightness enhancement, or background smoothing can interfere with how biometric systems interpret facial features.
Understanding these pitfalls is essential before attempting to take the photo.
The Goal: What a "Compliant" Passport Photo Looks Like
A compliant passport photo is not just visually clear, it is structurally correct.
The face must be centered and proportionate within the frame, with the head occupying a specific percentage of the image. The eyes must fall within a defined vertical range, and the background must be uniform without shadows or gradients.
Lighting must be even across the face, preserving natural skin tone and avoiding harsh contrasts. The image must also be sharp enough to capture facial details without noise or blur.
These requirements are designed to ensure compatibility with both human review and automated facial recognition systems.
Setting Up the Right Environment at Home
Creating a compliant passport photo starts with the environment, not the camera.
A plain white or off-white wall is essential for the background. The surface should be free from texture, patterns, or color variations. Even subtle gradients can cause issues during validation.
Lighting should be soft and evenly distributed. Natural daylight near a window often produces the best results, but it must be indirect to avoid harsh shadows.
If artificial lighting is used, placing two light sources on either side of the subject helps eliminate shadows.
The camera should be positioned at eye level and placed at an appropriate distance to avoid distortion. Using a tripod or stable surface ensures consistency and prevents motion blur.
Positioning and Framing the Subject
Proper positioning is critical for meeting head size and eye alignment requirements.
The subject should face the camera directly, with the head held straight and not tilted. The shoulders should be visible, and the body should remain aligned with the camera.
Framing should allow enough space around the head to adjust cropping later. Capturing the image too tightly often leads to head size violations, while capturing it too loosely may reduce facial detail.
Maintaining a neutral expression is also important. The eyes should be open and clearly visible, and the mouth should remain closed without exaggerated expressions.
Camera Settings and Image Quality
Modern smartphones are generally capable of capturing passport-quality images, but settings still matter.
The camera should be set to its highest resolution to preserve detail. Digital zoom should be avoided, as it reduces image quality and introduces noise.
Focus should be sharp, particularly around the eyes, as this is a key area for biometric analysis. The image should also be free from motion blur, which can occur if the camera is not stable during capture.
It is important to avoid using filters or portrait modes that artificially blur the background or alter facial features.
Why Taking the Photo Is Only Half the Process
Capturing the image correctly is only the first step. The raw photo must still be adjusted to meet exact requirements for size, alignment, and background consistency.
This includes:
Resizing to correct dimensions
Aligning head size within acceptable range
Ensuring proper eye position
Standardizing the background
Manual editing can be time-consuming and often introduces errors, especially when precise measurements are required.
Converting a Home Photo into a Compliant Passport Photo
After capturing the image, the next step is converting it into a format that meets official standards.
Instead of manually adjusting dimensions and alignment, a structured approach is more reliable. Platforms like EPassport-Photo are designed to process home-taken images and apply the necessary corrections automatically.
The system analyzes the uploaded image and adjusts:
Background uniformity
Facial alignment
Head size and positioning
Output dimensions
This ensures that the final image is ready for submission without requiring technical expertise.
Common Mistakes to Avoid When Taking Photos at Home
Many errors occur not during capture, but due to small oversights.
Shadows behind the head are one of the most common issues, often caused by standing too close to the wall. Uneven lighting can also create contrast differences that affect validation.
Another frequent mistake is using a cluttered or textured background, which makes it difficult to isolate the subject.
Improper camera angles, such as shooting from above or below eye level, can distort facial proportions and make correction difficult.
When You Should Retake the Photo Instead of Editing
Editing can fix alignment and formatting issues, but it cannot correct fundamental problems with the original image.
If the photo is blurry, poorly lit, or taken at an incorrect angle, retaking it is the better option. Attempting to fix these issues through editing often reduces image quality further and increases the risk of rejection.
A good rule is that the original image should already look clear and balanced before any adjustments are applied.
Practical Workflow to Take a Passport Photo at Home
A reliable workflow ensures consistency and reduces error:
Prepare a plain background and proper lighting
Position the camera at eye level
Capture multiple photos to choose the best one
Upload the image to a structured tool
Apply automatic adjustments
Review and download the final version
This approach mirrors professional processes while remaining accessible at home while creating passport photo.
Conclusion
Taking a passport photo at home is entirely possible, but it requires more than a good camera. It involves understanding and applying a set of technical requirements that ensure the image is suitable for identity verification.
By focusing on proper setup, accurate positioning, and structured post-processing, users can create compliant passport photos without relying on external services. This approach not only saves time and cost but also provides greater control over the final result.
Visit EPassport-Photo
Download the App | Android | IOS |
Frequently Asked Questions (FAQs)
1. Can I take a passport photo with my phone?
Yes, modern smartphones are capable of capturing compliant images if used correctly.
2. Do I need special lighting equipment?
No. Natural light or simple indoor lighting can work if evenly distributed.
3. Can I edit the background digitally?
Yes, but it must remain uniform and free from artifacts.
4. Why do at-home photos get rejected?
Usually due to lighting, alignment, or incorrect proportions.
5. Is it better than going to a studio?
With proper setup and tools, at-home photos can meet the same standards.